High altitude, dry air and very little light pollution make Nepal one of the best places in the world to photograph the Milky Way. Away from the cities, the night sky over the Himalaya is so bright with stars that it can cast shadows. Here’s when to go, where to shoot, and the exact settings to capture it.
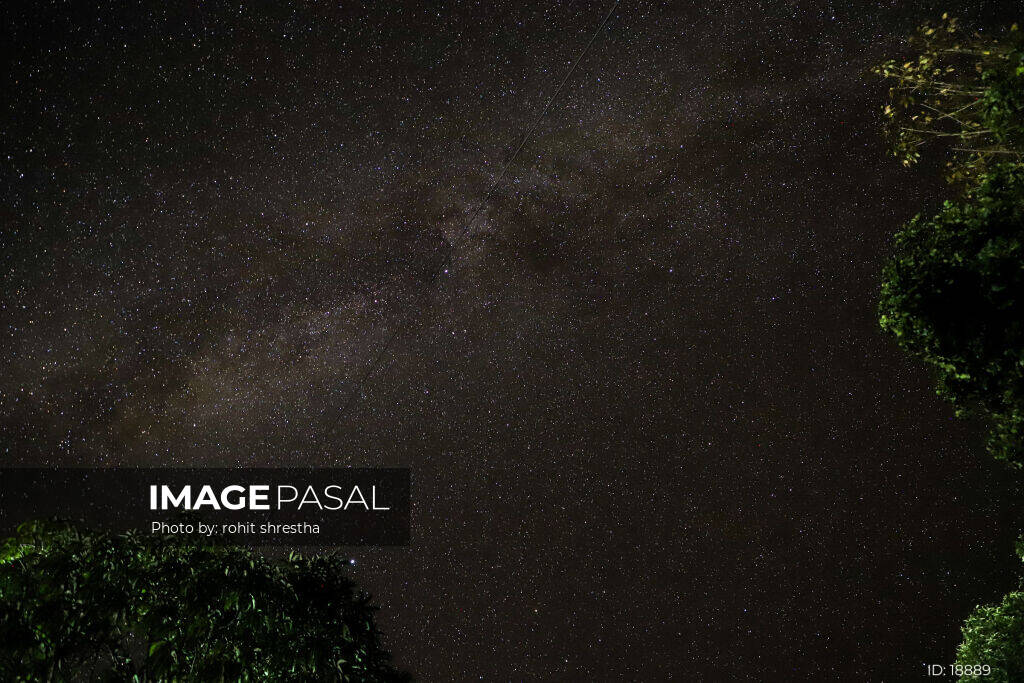
When to See the Milky Way in Nepal
- Season: the bright galactic core is visible from about February to October. Spring (March–May) and autumn (late September–October) give the best mix of clear skies and visible core. Monsoon clouds make June–August hit and miss.
- Moon: shoot within a few days of the new moon, or after moonset. A bright moon washes out the stars.
- Time: in spring the core rises before dawn; by late summer and autumn it is visible in the evening. Apps such as PhotoPills or Stellarium show exactly when and where it rises.
- Weather: check cloud forecasts, and remember mountain weather changes fast.
Where to Shoot
- Near Kathmandu: Nagarkot and Kalinchowk, on clear nights away from town lights.
- Near Pokhara: Sarangkot, Australian Camp, and Poon Hill or Mardi Himal on a trek.
- Remote and dark: Mustang, Rara Lake, Gosaikunda, Langtang and the Everest and Annapurna base camps, among the darkest skies in Nepal.
Use a light pollution map to find spots far from towns. Even a short climb above a village can make a big difference.
Gear You Need
- A camera with manual mode (larger sensors handle high ISO better)
- A wide, fast lens: 14–24 mm at f/1.8–f/2.8 is ideal
- A sturdy tripod
- A remote release or self-timer
- A headlamp with red light, spare batteries and warm clothes
Milky Way Camera Settings
| Setting | Starting point |
|---|---|
| Mode | Manual (M), RAW |
| Aperture | Widest available, f/1.8 – f/2.8 |
| Shutter | 10 – 20 s (shorter on longer lenses) |
| ISO | 1600 – 6400 |
| White balance | 3800 – 4500 K |
| Focus | Manual, on a bright star using magnified live view |
| Stabilisation | Off on a tripod |
To keep stars as points, a common rule of thumb is the “500 rule”: 500 divided by your focal length (times crop factor) gives the longest shutter in seconds. At 20 mm on full frame, that’s 25 seconds; many photographers use about half that for sharper stars on modern sensors.
Step by Step
- Arrive before dark and find your composition with a strong foreground: a stupa, prayer flags, a peak, a tent or a lake.
- Set up the tripod and settings above.
- Focus manually on a bright star until it’s a tiny point, then don’t touch the ring.
- Take a test shot, check sharpness and histogram, and adjust ISO or shutter.
- Try light painting the foreground very gently with a dim torch, or shoot a separate foreground frame at blue hour and blend later.
Editing Tips
Shoot RAW. In your editor, set white balance, raise contrast and clarity slightly, lift shadows, reduce noise, and use masks to bring out the core without making the sky unnatural. Our Lightroom editing basics covers the tools.
Stay Safe
- Never go alone to remote or high places at night.
- Respect altitude, and dress for temperatures well below freezing in the mountains.
- Tell your teahouse or guide where you’re going.
Share Your Night Skies
Night and astrophotography is one of the least-covered categories on Image Pasal. Upload your Milky Way shots and help fill the gap.
Frequently Asked Questions
What is the best month to photograph the Milky Way in Nepal?
April, May, late September and October usually give clear skies with the core visible.
Can I photograph the Milky Way with a phone?
Recent phones with astro or night mode on a tripod can capture it, though a camera with a fast wide lens does much better.
Why are my stars blurry?
Either focus is off or the exposure is too long and the stars have moved. Refocus on a star and shorten the shutter.