Long exposure photos look complicated, but the method is simple: keep the camera perfectly still, control how much light comes in, and leave the shutter open long enough for movement to blur. This guide gives you step-by-step instructions and starting settings for the most popular long exposure subjects. New to the idea? Start with what long exposure photography is.
Step 1: Set Up a Steady Base
- Put your camera on a sturdy tripod. Hang your bag from the centre hook in wind.
- Turn off lens or body image stabilisation; on a tripod it can add blur.
- Use a remote release, your phone app or the 2-second self-timer.
Step 2: Switch to Manual Mode and Shoot RAW
Manual (M) mode lets you control the shutter, aperture and ISO separately. RAW files keep more detail in highlights and shadows, which helps with bright skies and dark foregrounds. See RAW vs JPEG for why.
Step 3: Focus Before You Darken the Scene
Autofocus struggles in the dark and through dark ND filters. Focus first, then switch the lens or camera to manual focus so it doesn’t change. At night, use live view, zoom in on a bright star or light, and turn the focus ring until it is a sharp point.
Step 4: Set ISO and Aperture
- ISO: use the lowest setting (usually 100) for everything except stars.
- Aperture: f/8 to f/11 for landscapes, waterfalls and light trails. Use the widest aperture (f/1.8 to f/2.8) for stars.
Step 5: Choose the Shutter Speed
Use these as starting points, then adjust after checking your first shot.
| Subject | Shutter | Aperture | ISO | Notes |
|---|---|---|---|---|
| Waterfall or stream (shade or overcast) | 0.5 – 2 s | f/11 | 100 | Add an ND filter in bright light |
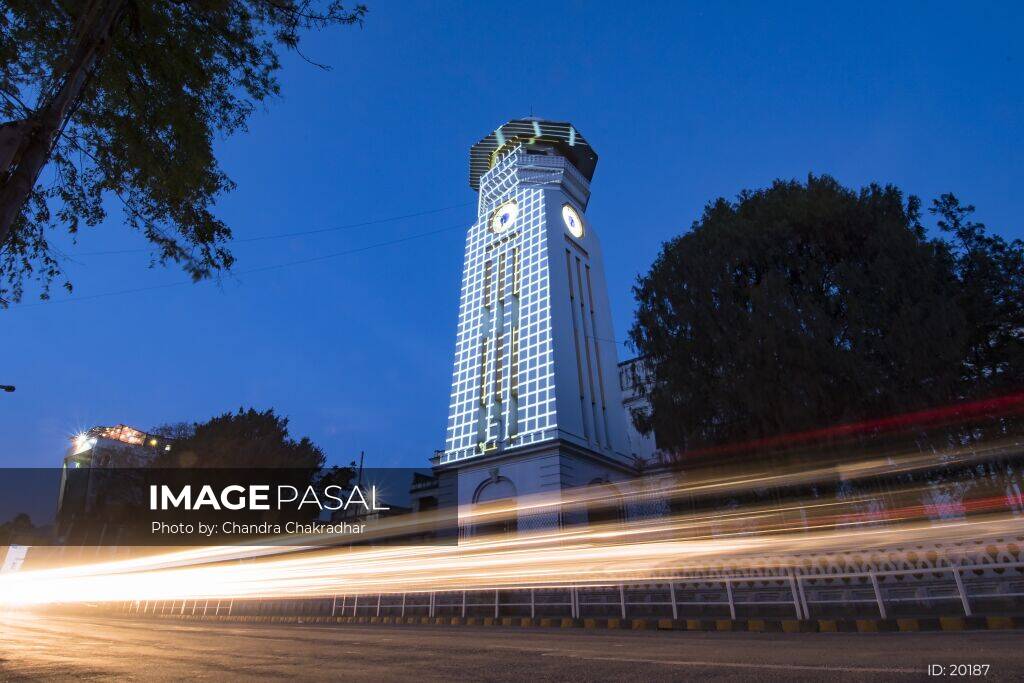
| Traffic light trails at dusk | 10 – 25 s | f/8 – f/11 | 100 | Shoot during blue hour for a deep blue sky |
| Lake or clouds in daylight | 30 s – 3 min | f/8 – f/11 | 100 | Needs a strong (6–10 stop) ND filter; use Bulb mode past 30 s |
| Stars as points (Milky Way) | 10 – 20 s | f/1.8 – f/2.8 | 1600 – 6400 | Use the widest lens you have; moonless night |
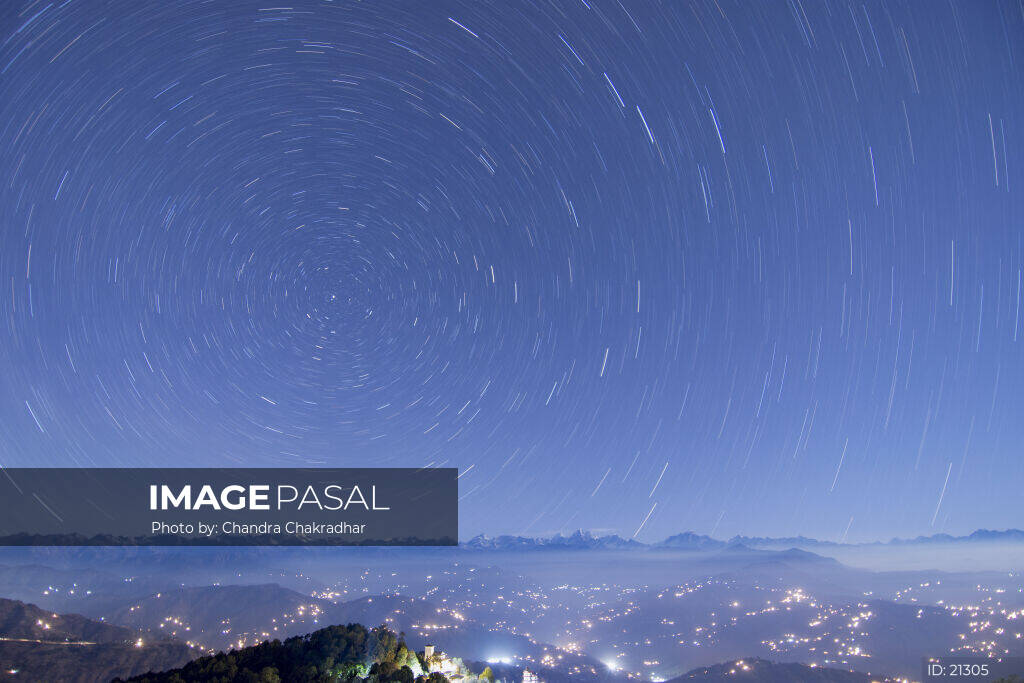
| Star trails | Many 30 s frames over 30–90 min | f/2.8 – f/4 | 400 – 1600 | Stack the frames later in free software such as StarStaX |
| Temples and city lights at night | 5 – 20 s | f/8 | 100 – 200 | Moving people disappear in longer exposures |
Step 6: Take a Test Shot and Check the Histogram
Look at the histogram, not just the screen, which can look brighter at night. If the graph is pushed to the right edge, highlights are lost: shorten the shutter or add an ND filter. If it is crowded on the left, lengthen the shutter.
Step 7: Fine-Tune the Blur
- Water looks too smooth and flat? Use a faster shutter to keep some texture.
- Light trails have gaps? Lengthen the exposure so it covers whole cars passing.
- Stars are stretched? Shorten the exposure or use a wider lens.
Using ND Filters in Daylight
An ND (neutral density) filter is dark glass that reduces light by a set number of stops. A 6-stop filter turns a 1/60 s exposure into about 1 second; a 10-stop filter turns 1/30 s into about 30 seconds. Compose and focus without the filter, then screw it on and lengthen your shutter. Cover the viewfinder during very long exposures to stop light leaking in.
Long Exposure Safety and Etiquette in Nepal
- Don’t set a tripod in the middle of temple paths or busy pavements.
- At night, shoot with someone else and keep your gear close.
- Near rivers in the monsoon, stay well back from the bank.
Share Your Long Exposures
Night and long exposure images are in short supply on Image Pasal. Register as a photographer and upload your best shots so buyers can license them.
Frequently Asked Questions
What is the best shutter speed for waterfalls?
Start between 0.5 and 2 seconds. Faster keeps texture; slower gives a silky look.
Why are my long exposures noisy?
High ISO or a hot sensor. Use the lowest ISO you can, and turn on long exposure noise reduction for exposures over a few seconds.
What is Bulb mode?
A setting that keeps the shutter open as long as you hold the button or remote, for exposures longer than 30 seconds.