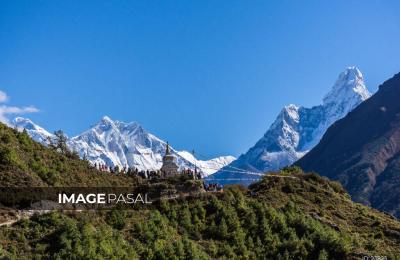
Most trekkers come to Nepal in October. Photographers who know the mountains often wait a few weeks longer. From late November to February, the monsoon haze is gone, the air is dry and cold, and the Himalaya stands out sharp against deep blue skies, sometimes for days at a time.
Winter also brings fewer people. Teahouses are quieter, and the viewpoints that are packed at sunrise in autumn often have room to set up a tripod. Fresh snow on the lower ridges adds layers and texture you won’t see in other seasons.
There are trade-offs. Nights are very cold, some high passes close after heavy snow, and days are short. With the right trek and some preparation, though, winter can give you the best mountain images of your life.
Five Winter Treks Worth Carrying a Camera For
| Trek | Highest photo point | Typical length | Best for | Winter note |
|---|---|---|---|---|
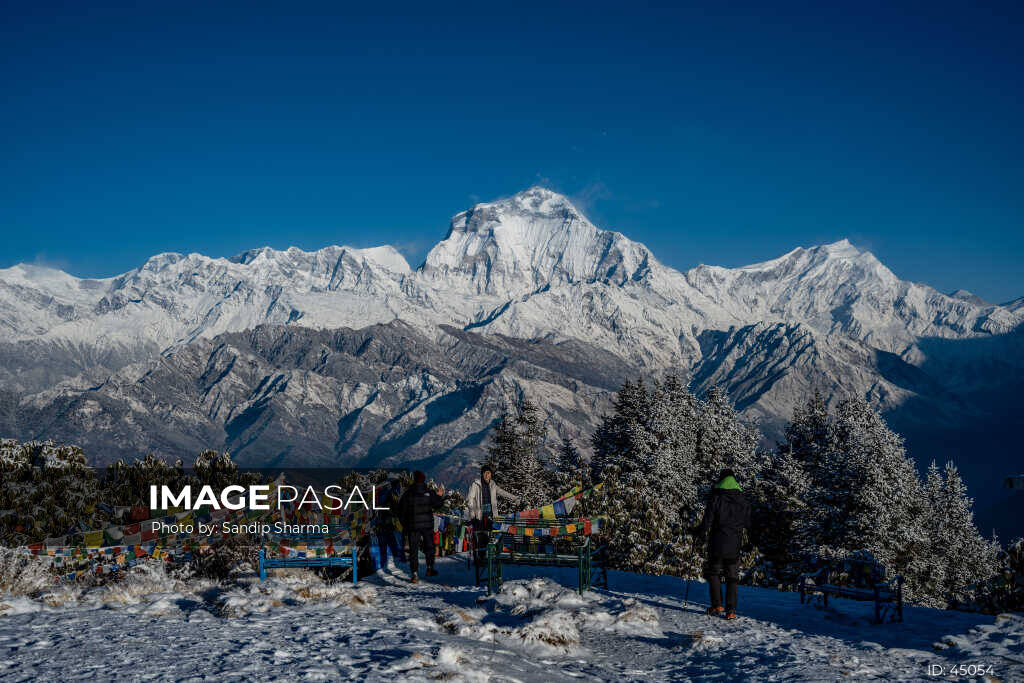
| Poon Hill (Ghorepani) | 3,210 m | 4–5 days from Pokhara | Sunrise panoramas, first-timers | Busy at dawn even in winter; arrive early for a front spot |
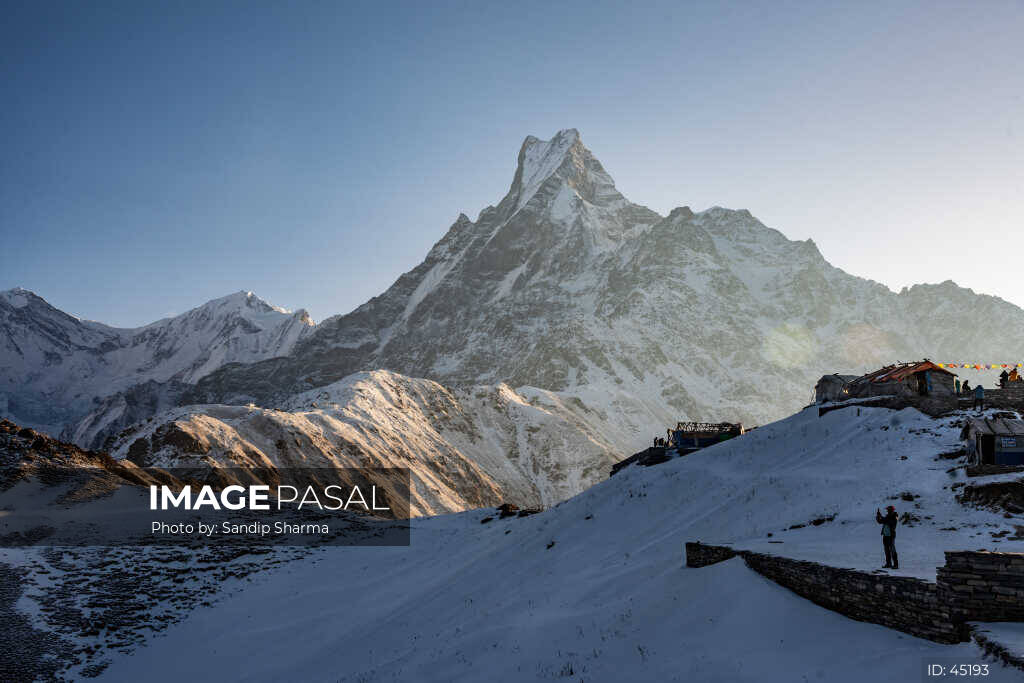
| Mardi Himal | ~4,500 m (Upper Viewpoint) | 5–7 days | Close-up Machhapuchhre, ridge lines above the clouds | The final climb can be snowed in; check at High Camp |
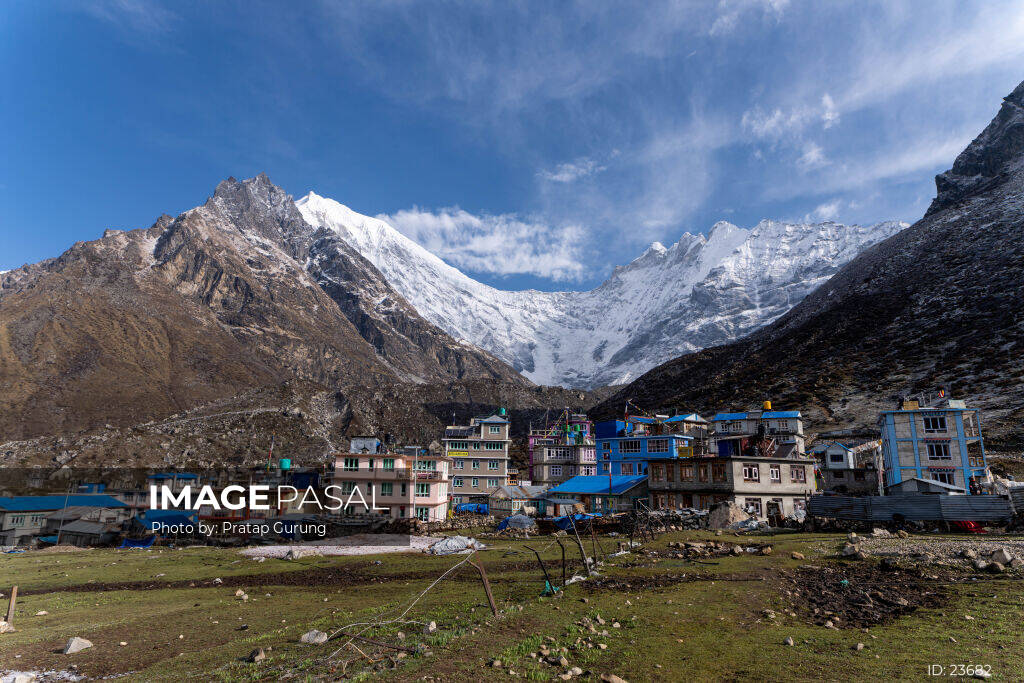
| Langtang Valley | ~4,770 m (Kyanjin Ri) | 7–8 days from Kathmandu | Glaciers, yak pastures, Tamang villages | Short drive from Kathmandu; very cold nights at Kyanjin Gompa |
| Annapurna Base Camp | 4,130 m | 7–10 days | A full ring of peaks from one spot | Avalanche risk on the Deurali–MBC stretch after heavy snow |
| Everest Base Camp / Kala Patthar | 5,644 m | 12–14 days | Everest itself, Khumbu Glacier, night skies | Nights can fall well below −15 °C; for experienced trekkers |
Altitudes and durations are approximate and vary by route.
1. Poon Hill
Poon Hill is the easiest way to get a classic Himalayan sunrise. From the top you see Dhaulagiri and the Annapurna range turn pink, then gold, in about twenty minutes.
2. Mardi Himal
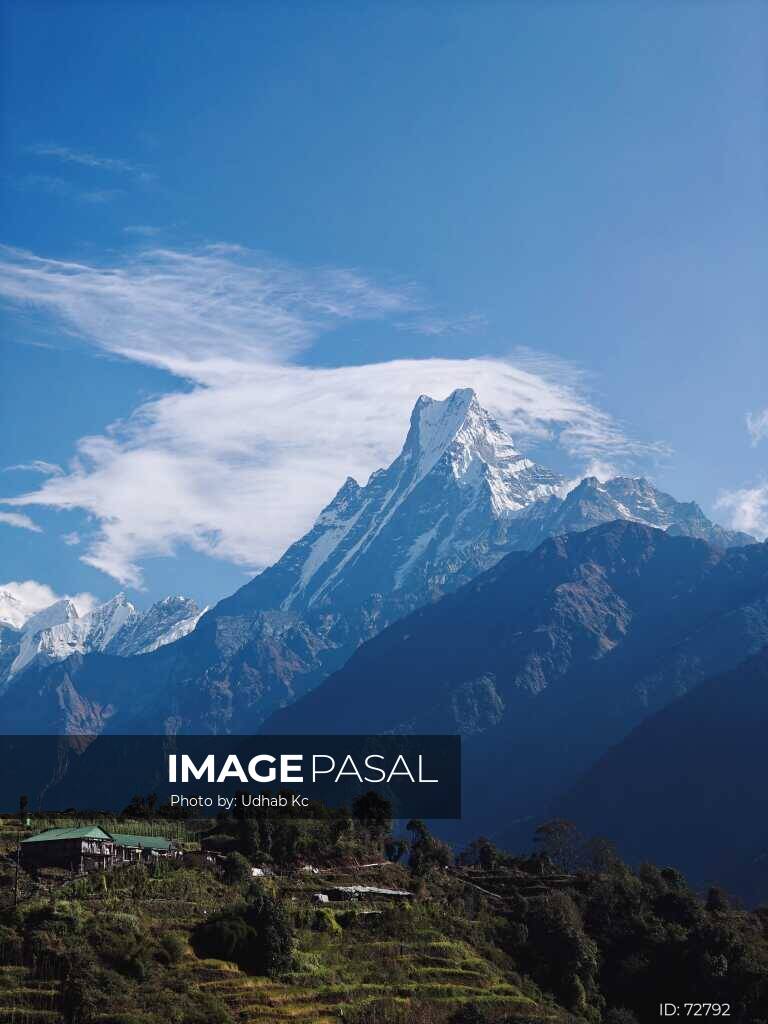
Mardi Himal puts you closer to Machhapuchhre (Fishtail) than almost any other trek. Early mornings often leave a sea of clouds below the ridge.
3. Langtang Valley
Langtang mixes mountain views with village life, prayer flags and stone walls, which gives you foreground for your landscapes.
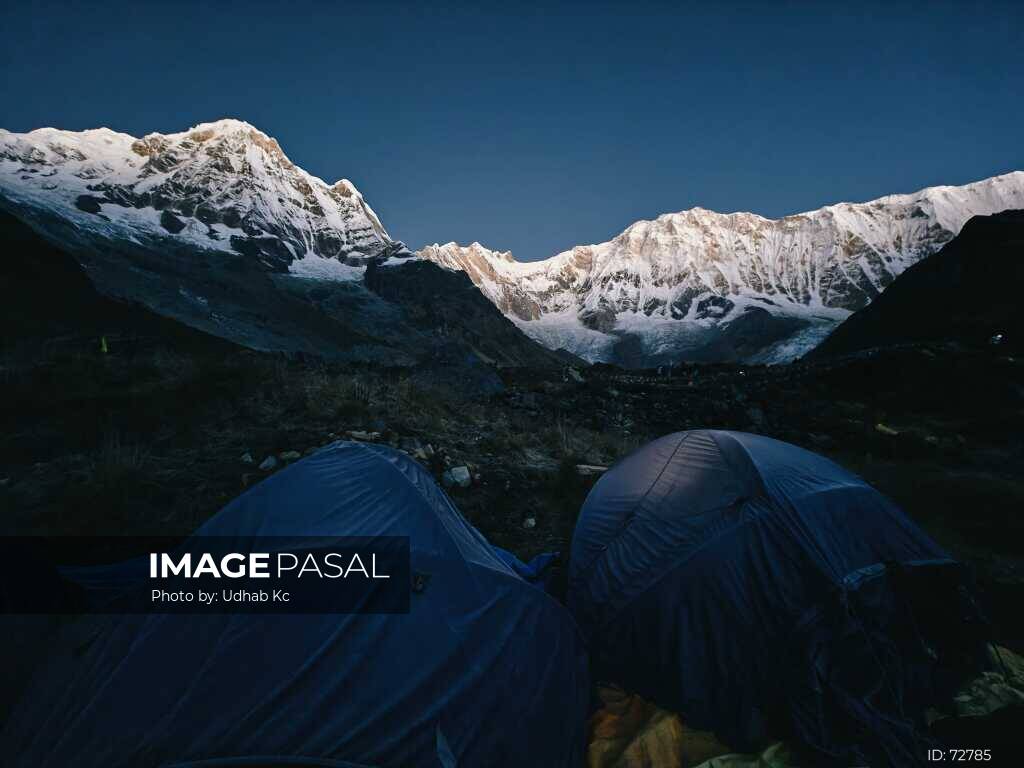
4. Annapurna Base Camp
Annapurna Base Camp surrounds you with peaks over 7,000 m. Under a full moon, the snow lights up enough to shoot without a headlamp.
5. Everest Base Camp and Kala Patthar
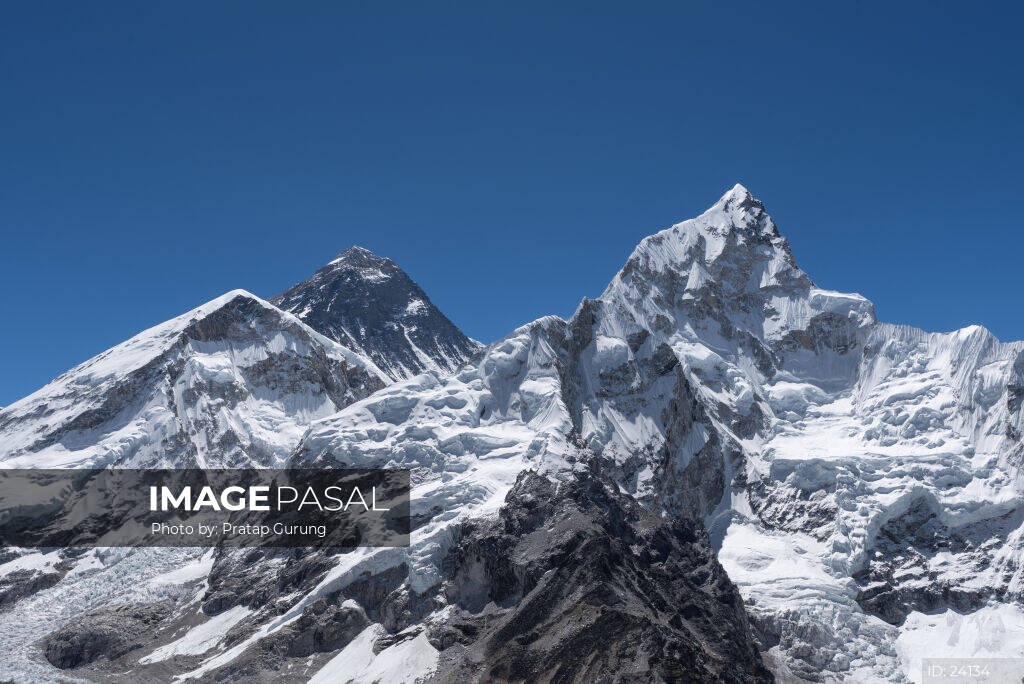
Everest Base Camp is the big one. Clear winter air makes the view from Kala Patthar at sunset hard to beat, but only go if you are fit and acclimatized.
Short on time? A weekend trip to snowy Kalinchowk is a good warm-up.
How to Shoot in the Cold
- Plan around the light. Winter days are short, so sunrise and sunset come at easy hours. The best colour on the peaks often lasts only 10–20 minutes, so be set up before it starts.
- Keep batteries warm. Cold drains lithium batteries fast. Carry spares in an inside pocket and sleep with them in your sleeping bag.
- Expose for the snow. Cameras tend to make snow look grey. Add +1 to +2 stops of exposure compensation, and check the histogram rather than the screen.
- Avoid fogged lenses. Moving from a warm teahouse into the cold, or back, causes condensation. Put the camera in a zip bag before going inside and let it warm up slowly.
- Use a polarizer carefully. It deepens blue skies, but on wide shots at altitude it can make the sky look patchy.
- Shoot the stars. Dry winter air and little light pollution make the Milky Way and star trails easy to capture. Use a sturdy tripod, a wide lens at f/2.8 or faster, and exposures of about 15–25 seconds.
- Include people and places. Porters on the trail, smoke from a teahouse chimney, or a monastery under snow tell the story better than peaks alone.
What to Pack
Pack light. Every gram feels heavier above 4,000 m.
- Camera body plus one wide zoom (16–35 mm) and one telephoto (70–200 mm or a travel zoom)
- 3–4 spare batteries and a power bank (charging in teahouses costs extra and isn’t always available)
- Lightweight travel tripod
- Extra memory cards; back up to a phone or small drive each night
- Zip bags and silica gel for condensation
- Lens cloth and blower for dust on the lower trail
- Thin liner gloves you can use the camera in, under warm outer mittens
- Headlamp with a red-light mode for night shooting
- Down jacket, warm hat and a sleeping bag rated to about −15 °C or lower
Stay Safe and Shoot with Respect
- Check permits and guide rules before you go. Most treks need a national park or conservation area permit, and rules on guides for foreign trekkers have changed in recent years. Confirm the current rules with the Nepal Tourism Board or a licensed agency.
- Respect the altitude. Climb slowly, add rest days, and turn back if you have headache, nausea or dizziness that gets worse. No photo is worth altitude sickness.
- Watch the weather. Heavy snow can close passes and raise avalanche risk. Ask teahouse owners and guides about conditions each morning.
- Drones need permission. Flying a drone in Nepal requires official approval, and many protected areas and monasteries don’t allow them.
- Ask before photographing people. A smile and a gesture toward your camera is usually enough. Respect a no, and don’t photograph inside monasteries unless you are told it is allowed.
- Walk clockwise around stupas and mani walls, and don’t stand on chortens for a better angle.
Bring the Himalaya Home
Winter in Nepal rewards early starts and cold fingers with the clearest mountain views of the year. Pick a trek that matches your fitness, keep your batteries warm, and be ready before the light hits the peaks.
Not heading out this winter? Every photo in this guide was taken in Nepal by a Nepali photographer and is available to license on Image Pasal. Browse the full Landscape Images of Nepal collection, or explore adventure and trekking photography. For more trip ideas, read our guides to Mustang and Muktinath, the Sailung Valley trek, and why landscape photographers should take a photography trek in Nepal.
Coming back from the mountains with great winter shots? Image Pasal’s photographer marketplace lets you upload and sell your own photos directly to buyers worldwide.
Frequently Asked Questions
Is winter a good time to trek in Nepal for photography?
Yes. From late November to February, skies are usually at their clearest and trails are quieter. Expect very cold nights and possible snow closures on high passes.
What is the easiest winter trek for mountain photos?
Poon Hill. It takes 4–5 days from Pokhara, stays below 3,300 m, and gives a wide sunrise view of Dhaulagiri and the Annapurna range.
Can I sell my trekking photos on Image Pasal?
Yes. Register as a photographer, upload your images, and buyers can license them for their projects.