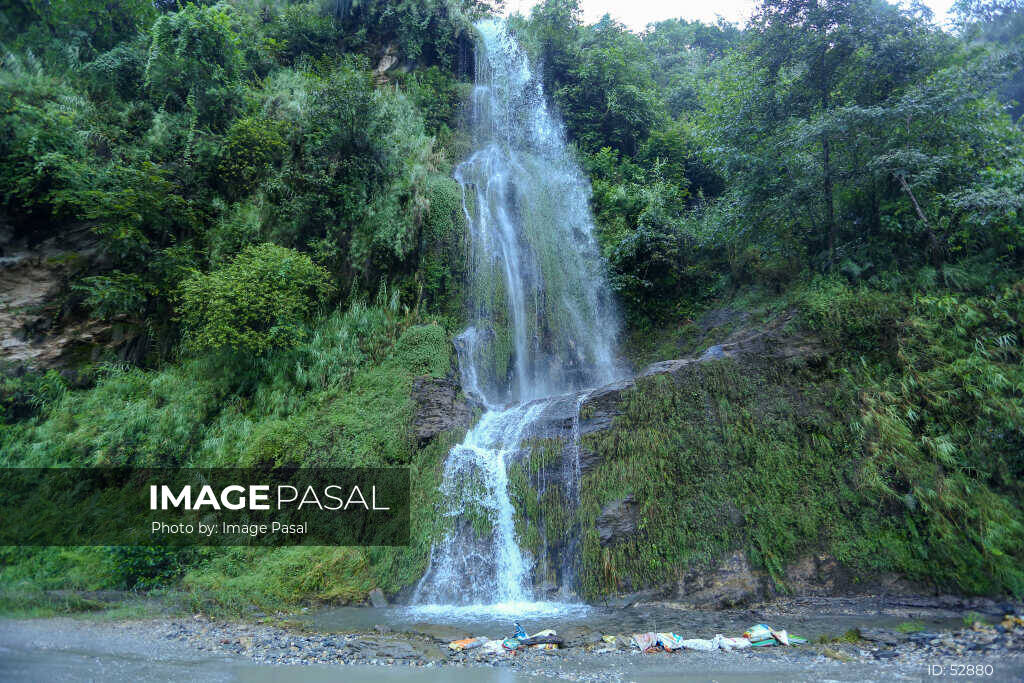
A neutral density (ND) filter is a piece of dark glass that goes in front of your lens and reduces the amount of light reaching the sensor, without changing colour. Less light means you can use slower shutter speeds or wider apertures in bright conditions. ND filters are the secret behind silky daytime waterfalls, smooth lakes and streaking clouds.
Why Use an ND Filter?
- Long exposures in daylight: blur water and clouds when the sun is out. See how to shoot long exposure.
- Remove moving people: a multi-minute exposure makes crowds at Durbar Square or Boudha vanish.
- Wide apertures in bright light: shoot portraits at f/1.8 in midday sun without overexposing.
- Video: keep a natural shutter speed (about 1/50 s at 25 fps) outdoors.
ND Filter Strengths Explained
ND filters are rated in stops, often written as ND8, ND64 or ND1000. Each stop halves the light.
| Name | Stops | 1/60 s becomes | Good for |
|---|---|---|---|
| ND8 | 3 | about 1/8 s | Soft water blur, video, wide apertures |
| ND64 | 6 | about 1 s | Waterfalls and rivers in daylight |
| ND1000 | 10 | about 15 s | Smooth lakes, streaking clouds, empty squares |
| ND32000 | 15 | about 8 min | Extreme long exposures at midday |
If you can buy only one, a 6-stop filter is the most versatile for landscapes. Add a 10-stop later for dramatic skies.
Types of ND Filters
- Screw-in: threads onto the lens. Compact and affordable; buy for your largest lens and use step-up rings for smaller ones.
- Square or rectangular: slide into a holder. Flexible and stackable, but bulkier.
- Variable ND: one filter that adjusts from about 2 to 8 stops. Popular for video, but can show an “X” pattern at strong settings.
- Graduated ND (GND): dark at the top, clear at the bottom. Balances a bright sky with a dark foreground, such as mountains above a shaded valley.
How to Use an ND Filter, Step by Step
- Set up on a tripod and compose your shot without the filter.
- Focus, then switch to manual focus so it won’t change.
- Set aperture (f/8–f/11) and ISO 100, and note the correct shutter speed.
- Attach the filter and lengthen the shutter by the number of stops (use a phone app such as an ND calculator).
- Use a remote or timer, cover the viewfinder for long exposures, and check the histogram.
Common Problems
- Colour cast: cheap or very strong filters can add blue, magenta or brown tints. Shoot RAW and fix white balance.
- Vignetting: stacking filters on wide lenses darkens corners. Use slim filters.
- Light leaks: cover the viewfinder and gaps in square holders.
Upload Your Long Exposures
Silky water and dramatic skies make great stock and print images. Share yours on Image Pasal.
Frequently Asked Questions
What ND filter should a beginner buy?
A good-quality 6-stop (ND64) screw-in filter for your main lens.
Do ND filters reduce image quality?
Good ones barely do. Cheap ones may reduce sharpness or add a colour cast.
Do I need an ND filter at night?
No. There’s already little light, so long exposures are possible without one.